Tulips are lovely plants, but most people don’t think about growing tulips indoors, let alone proper tulip care. When you visualize spring, Tulips automatically come to mind, whether they’re in flower beds or bouquets. The colors of these flowers are bright and engaging, set on a backdrop of blue-green leaves.
Medley of Tulips
Horticulturalists developed some 4,000 varieties of Tulip hybrids and species. There are single flowers, double-flowered, mid-season, late-blooming, solid-colored, and streaked-it’s going to be hard to choose which one you want to grow in your home!
Tulip’s Past in Persia: Historians feel that Tulip cultivation began around the 10th century in Persia. They were so abundant these flowers became an honored emblem of the Ottoman Empire. From there, Tulips came with a Viennese ambassador to Turkey, who wrote about the plants in his journal. Around 1551 the same man, Augier Ghislain de Busbecq sent the first seeds to Austria.
Key Takeaways:
- Use pots that are wide and at least 8” deep for growing your indoor tulips.
- Tulips benefit from top-dressing the bulb bed in the fall with a 10-10-10 slow-release fertilizer mix.
- Water Tulips when you plant them with a thorough soak. Continue watering once weekly for one month. Begin watering again in the spring when leaves start appearing.
- Put your Tulips in a sunny window where they can get 6 hours of direct sunlight daily. This produces the best floral display.
- Tulips need soil that drains quickly. This makes them ideal for rock gardens
8 Strategies for Nurturing Magnificent Tulips
1. Why are Tulips Special?
What’s the big todo about Tulips? The first answer to this question is pretty easy when you see tulips. They have unabashed bold colors and a shape pleasing to the eye. Why? Because this blossom is nearly symmetrical, which is a boon for them as well. Symmetry attracts pollinators.
Normally, each tulip bulb produces one plant each spring, the best cultivars returning annually for up to 5 years. Most only produce a single flower, but if you’re lucky, as many as four may appear. Tulip flowers are sadly short-lived, lasting only 7-10 days, giving us pause to enjoy and appreciate them all the more.
Are you an allergy sufferer? Tulips are one of the flowers with the lowest pollen content. So you won’t be sneezing constantly indoors.

Tulips in the Language of Flowers
The Victorian love of enchantment and romance displays itself beautifully in The Language of Flowers. In this symbolic form of communication, each petal represented something specific. For conservative people, it was a sly way of indicating their interest, for example.
Tulip meanings depended on their colors
- Orange: Orange portrays the idea of “I understand.” It also extends a message of appreciation to another. Orange has spiritual overtones in terms of connection.
- Blue: There is no such thing as a blue tulip (amazingly). What you see are purplish tones. When these appeared in a posy, it was a sign of individuality and distinctiveness.
- Pink: Unpretentious pink means congratulations. It is also the color of friendship.
- Red: Ah, the color of romance. Red tulips evoked passion, love, and, dare we say, even lust. Alternatively, depending on how used with other flowers, tulips can also mean true feelings extended to someone you admire.
- Yellow: If you read one of the small books on the Language of Flowers, you’ll discover that yellow tulips mean that a person’s smile radiates with sunshine. Superstition says yellow tulips bring luck into the home and prosperity if you plant them.
- White: One one-level white tulips signify purity and honor. Dreaming of a white tulip portended a fresh beginning in one’s life. As a message, a white tulip could come by way of an apology or condolences.
Queen of the Night
If you’e looking for a spectacular addition to your indoor Tulip collection, consider the Queen of the Night. It has such dark purple petals it looks black. Queen of the Night is suited to container planting and blossoms in spring.
2. Tulip Needs: The Fundamentals
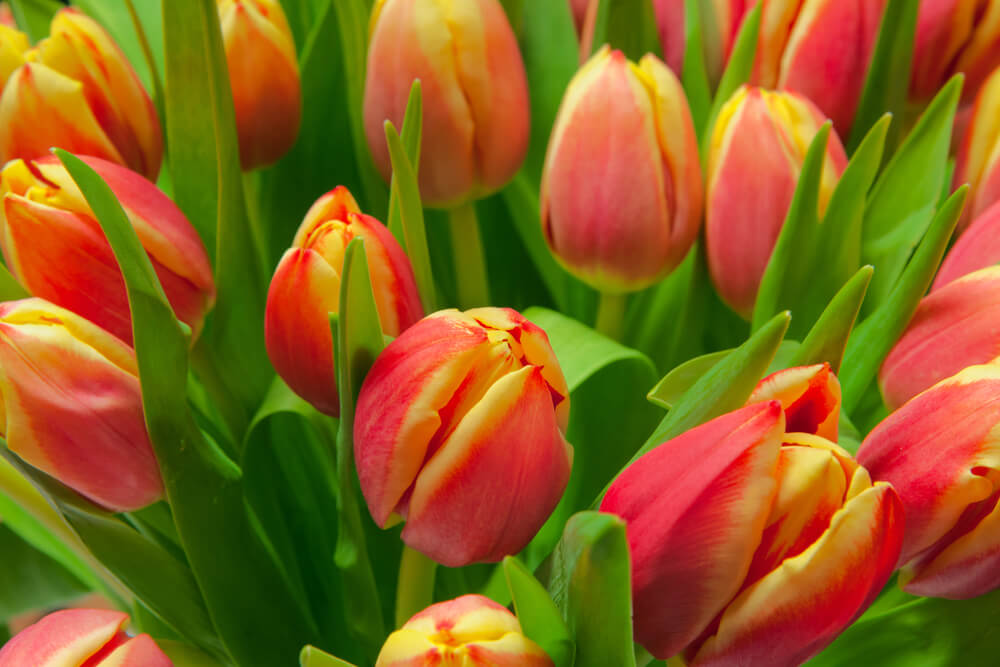
When you are starting Tulips indoors, you want to make sure to get large bulbs and make sure they are clean. Look for signs of mildew or mold, and clean it off. Ensure you have chosen pots with good drainage, about 8 inches deep. You can have more than one bulb per pot, placing them about 2” apart, 6” deep in potting soil.
That’s great for basics, BUT wider containers, like those for azaleas, work best, so where are you going to put them? You may have to sacrifice the number of bulbs for a smaller container to fit in an area with excellent sunlight. 6 hours daily is healthy. Of course, if you’re feeling really dedicated, you can just move the pot from one window to another.
If you’re looking for a cascading effect with your leave, plant the flat side of the tulip bulb against the inside of the pot. This is where the largest leaves emerge.
When it’s time for the plant to rest, cut it back to the stalk. When all foliage is brown, stop watering. Place in a spot where the temperature remains around 40F. Sometimes your cellar or garage will work fine. Avoid dampness if possible.
The bulbs need to rest for about 14 weeks. Pull the plants back out to their resting position when you see tulips growing outdoors. This is when you can begin your watering feeding cycle again.
Tulip Treasure: In the 1600s, tulips cost more than some homes. It would take a working person 10 years to come close to buying one. This time was suitably called “Tulip Mania.” Tulips were akin to currency, also being used for trade. Unfortunately, when the plague hit, the market for tulips crashed.
3. Planting Indoor Tulips
First, a cautionary tale. If you have cats or dogs, tulips can be toxic. The bulbs, by far, are the worst culprits. So, if you plan to grow indoors, make sure you have a space safely away from furry paws. Some people with sensitive skin may experience allergic reactions, too.
Tulips as Houseplants?
Many people choose houseplants that don’t require a lot of fuss or attention to detail. Tulips are not for those individuals. Tulips require very particular timing in order to keep their growth cycle healthy in an indoor environment. Particularly, they need a place to “winter,” so the plant can focus energy on the bulb.
The reason flower enthusiasts may choose Tulips for the home is that they can plant various bulbs together, of different colors, in one pot. So when the blossoms appear, it’s a grand reward. Some of the best tulip choices for growing inside are Single Early, Double Early, Trump, and Darwin Hybrids.
If you ask, most people say you should put your bulbs into their housing around the first of October. Move them to a dark, cool location for 12-16 weeks. Slowly move them out into a warmer area, receiving sunlight. Moving too quickly can cause plant shock.
Think of it this way, when spring arrives, the soil is still cold and, in some cases, still frozen. The temperature increases with the warm days. Plants have time to adjust to those changes. Your indoor Tulips are no different.
You can expect sprouts to appear within about a week after you bring the plant out. Within 4-5 weeks, you’ll have full blooms. Now, what this means is you can adjust your blossom time by changing when you rest the plant and when you revive it. Nifty!
Best-Practice Care
- Sunlight & Temperature: While working toward blossoms, keep them in bright conditions for about four weeks. Once they flower, you can move them to less intense light, helping your blossoms last longer. They’re happiest at around 65F.
- Watering: Whenever your Tulip soil feels dry, give it some water but take care not to drown the plants. Until the blossoms fade off your plant, do not allow the bulbs to dry completely.
- Fertilizer: Indoor Tulips don’t need as much feeding as outdoor ones, but if you plan to use the bulbs again, give growing plants some nutrients.
Tulips in Rare Form: Semper Augustus
During the 17th century, the most expensive tulip was the Semper Augustus. At the time, only 12 bulbs existed. The flower featured bright, white petals with intense velvet-red edging. Records indicate that one bulb sold for the modern equivalent of $179,000!
4. Growing Tulips from Seeds
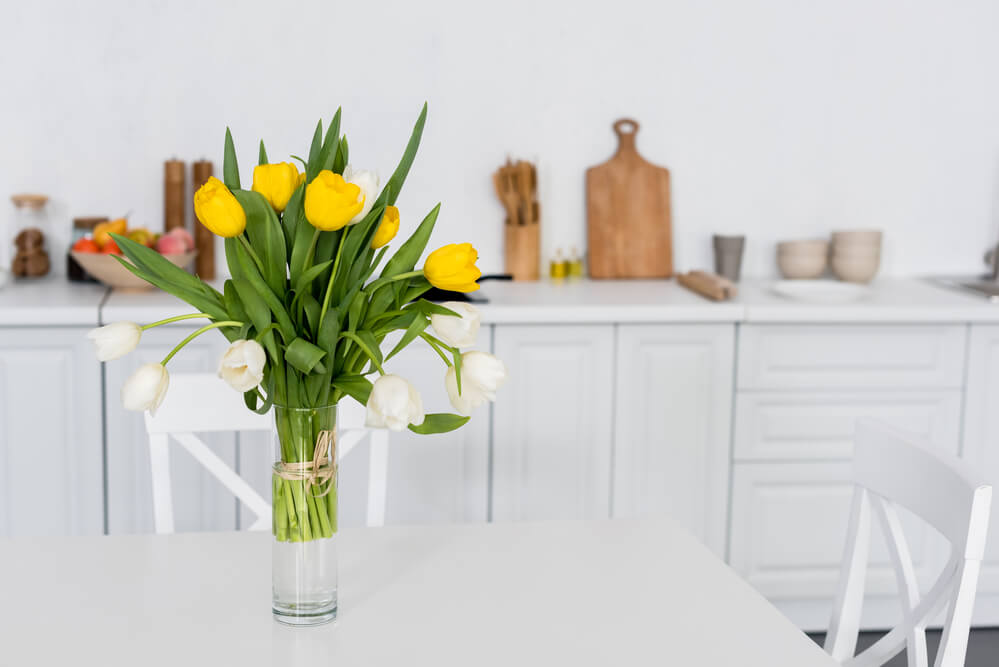
Do you have a lot of patience? That’s what it takes to grow tulips from seeds. You may not see flowers for a few years. Even when blossoms emerge, you wonder if it’s the same plant as the parent!
Start by drying your seeds for about a week. Next, lay the seeds on a damp paper towel, and slide them into a plastic back. Leave it in the refrigerator for three months. NOTE: avoid seed accidents, inform the family and label the package “Do not disturb.” Trust us. You’ll be glad you did.
Next, remove the seeds and put them on top of well-drained compost (no more than 1 cm of media on top of them). Leave this in a bright, warm area. Remember that different tulips germinate at different speeds. You could have to wait for up to a year. Use indirect watering if possible, as the seedlings are fragile. When a second leaf appears on a stem, the seedling is ready for a new home.
What’s in a Name? The Tulip got its name from the shape of the flowers. The Persian word is “delband,” which means turban.
5. Potting & Repotting Tulips
Because Tulips are bulbs, the process of potting and repotting them are pretty much the same. In choosing pots, remember Tulips are TALL (up to 28”), so look for attractive options.
- Start with a mix of potting soil and compost, filling the pot half full.
- Next, make sure the bulbs are clean and free of debris. When repotting, don’t use the previous soil. Get fresh. So doing helps deter bugs and disease.
- Put the bulbs in with the pointy part up. For a beautiful display, don’t place them more than 2” apart. 1/2“ is ideal.
Periodically dividing your tulips keeps them happy. Otherwise, they can outgrow their original container.
- Cut down the tulip to the top of the soil.
- Gently release the tulips from the pot.
- Separate the “mother” bulb from smaller ones.
- All your bulbs should be stored in a cool, dark area until you’re ready to plant.
- When you replant the bulb, make sure only the very top tip peeks out of the soil.
- If you’re ready to start growing, move the pot to a warmer, sunnier location
Tulip’s Family Tree
Tulip is part of the Lilaceceae family. If the word seems familiar, it’s because Lilies are in this group. And, in an odd twist, so are garlic, onions, and asparagus!
6. Common Pests & Plant Diseases
While you might wish otherwise, your indoor Tulips can get sick from pests and diseases. Some of these problems come home with them from the flower shop. If you have other plants that you put outside periodically, they can attract insects which then hitchhike into your house.
Common Insects
Aphids
If your tulip exhibits yellow leaves with sticky black goo either on the buds or leaves, you have aphids. These little squatters suck the sap out of your flowers, turning them colorless. They’re pear-shaped green bugs with lanky legs.
Aphids love a watery home. So, make sure you’re not overwatering your plants. Alternatively, you may have too many bulbs in one pot.
The positive note here is that aphids respond well to natural techniques rather than having to use pesticides. Spraying a hard stream of water under the leaves will tousle them right off. A light coating of horticultural oil also does the trick. Keep your eyes open to make sure some don’t sneak back.
Blub flies (larvae)
Bulb flies themselves do not hurt your tulips. Their larvae, however, have a feast on the tulip bulbs. You’ll notice weak leaves and slow growth as two symptoms. When you discover the larvae, they look somewhat like maggots.
It’s not easy to get rid of them, as the damage may have already been done. You can try cleaning off the bulb and soaking it in hot (109F) water for 40 minutes. Let it dry thoroughly and store it in a clean, dark location.
Bulb Mites
This is a common tulip pest that prefers the bulbs over all else. They are white but almost translucent. Unlike other pests, these remain under the soil. Root rot is one of the key causes of bulb mites. Alternatively, the bulbs may have been damaged before you planted them.
If you discover bulb mites, remove your tulips from the soil. Do not reuse it. Clean off the bulbs and dip them in a fungicide solution with sulfur. Let them dry. This controls both the mites and disease until you’re ready to replant.
Thrips
Signs of thrip are back punctures on your tulip’s leaves. This may accompany your petals turning pale or dropping early.
If you suspect thrips, take the plant outside and hose it several times a day. Afterward, coat the leaves with neem oil. Prune off any infested foliage as you see it.
Spider Mites
Spider mite squatters go after the leaves, stems, and flowers of tulips. As their name implies, they look somewhat like spiders. The main symptom you’ll notice is webbing on the edges of your tulip’s leaves or underneath them.
When you suspect an infestation, remove the plant from your other household greenery. Prune it and shake it, then spray it with water. Afterward, use oils or soaps to keep the mites away. Don’t bother with insecticides as spider mites are immune
Slugs
Seeing holes in your tulip leaves? You may have slugs. This pest prefers tulip foliage. During the day, slugs stay in the soil. By night they come out to feast. They, like many other tulip pests, like a wet environment, so monitor your soil.
To get rid of slugs, try making a beer trap (apparently, slugs are attracted to the smell). Slugs are large enough that you can see them and remove them by hand. A good hosing helps too.
Common Diseases
Breaking
When you see streaks or white in the petals, it may be Breaking. Leaves become mottled. Breaking begins in bulbs, and aphids spread it. So if one of your tulips in a pot shows signs, the others are likely to follow.
Do NOT reuse these bulbs and focus on aphid control.
Tulip Mania & Breaking Tulips
When people began seeing breaking tulips in the1600s, they loved the striking striped appearance. The flowers were highly sought after partly because no one could figure out how to repeat the bloom. It wasn’t until 300 years later that studies showed the broken color of the petals was actually a virus.
Fire Blight
When it comes to tulip diseases, Fire Blight is at the top of the list. You’ll notice your tulip leaves flecked with tiny brown spots. Over time, these expand. Flowers may show the spots, too. Should your home be humid, a gray mold may develop as well.
To control fire blight, cut the infected areas immediately. Pay close attention to watering; don’t water from overhead. Also, make sure your bulbs aren’t overcrowded. If you notice new growth, apply fungicide (typically spring).
Soft Rot
Signs of soft rot include the lack of flowering or flowers falling off before opening. Bulbs will smell “off” and feel pulpy. Unfortunately, soft rot will infect all of the bulbs in your pot. They should be discarded along with the soil. Clean the pot thoroughly with 10% bleach.
Remember that some problems in your tulips may be environmental. For example, toppling tulips can mean your soil doesn’t have enough calcium. Remedy this by adding limestone to the media.
7. Common Tulip Problems

By far, the most common problem with tulips is either over or under-watering. When your plant is overwatered, leaves start going yellow when the blossom hasn’t even opened yet. The first time you plant bulbs, you want to water them deeply. Then, leave them alone until you notice fresh shoots springing up.
Sunlight
Another problem may be sunlight. Tulips indoors still need their 6 hours of beauty time in the sun. Once they bloom, you can enjoy them for about 2 weeks.
Storage
If you just leave the tulip bulbs in the container after the plant dies back, you’ll probably not get new growth. It’s better to remove the bulb, clean it, and dry it. Come the next season, it won’t hurt to have a few extra bulbs on hand, just in case.
Temperature Changes
Tulips (and many other flowers) do not handle rapid temperature change or ongoing inconsistent temperatures. Keep your bulbs in an area you trust for even heat and dryness.
Vases
When you harvest tulips for a vase, they may start to droop. Make sure they’re not getting too much light or heat. Also, keep an eye on the water level.
Remember, tulip blossoms are heavy. Give them a supportive structure. Trim the ends of the stems regularly. Refresh your water and then put the tulips back in place. They should perk up.
Place a penny in the bottom of your vase. As odd as it sounds, copper deters bacteria and fungi that might otherwise shorten your flower’s lifespan.
The Commercial Growth of Tulips: has expanded and shows no signs of stopping. Holland remains the queen of tulip production, yielding some 3 billion bulbs annually
8. Edible Petals & Tulip Crafts
There’s no question your indoor Tulips will add beauty to your home, but they can also beautify and flavor food. Tulips are mild and crunchy, perfect for tuna salad. Or, turn an entire tulip head into a serving bowl for ice cream.
Other ideas include:
- Stuffed tulips with crab and cream cheese
- Garnish drinks with petals
- Tulip bulb soup
- Tulip primavera
- Tulip wine (mixed with roses and lavender!)
Tulips picked early in the season have a brighter aroma and taste somewhat like baby peas.
Tulip Crafts
Save your tulip petals and dry them carefully on a wire frame. Alternatively, dry them in small bundles hanging upside down in a dark, cool area.
A faster option is drying them in your oven. Set your stove to the lowest temperature. Cover a cookie sheet with parchment paper. Lay out the tulip petals so they’re not touching. It will take the flowers between 8-12 hours before completely dry.
We cannot stress enough how important it is to make sure your tulips are moistureless. Otherwise, mold can develop and ruin your projects.
In the final form, you can use them for all sorts of crafty projects including
- Tulip bath salts
- Potpourri
- Press them into cards or bookmarkers
- Soap and candle making
- Wreaths
8. Tips & Tricks for Growing Indoor Tulips
You can successfully grow tulips indoors. In fact, when you want to bring the outdoors indoors, tulips are a lovely option. These bulbs do require some care to make sure they’re clean, dry, and out of sunlight until you’re ready to grow them. You need a wide-bottom container and potting soil for your adventure. The tops of the bulbs (the pointy ends) need to be slightly above the soil. Then, your new plants will need a nice sunny window for 6 hours daily until they bloom. After that, they can go into indirect lighting, where you can enjoy them for about 2 weeks.
Frequently Asked Questions About Indoor Tulips
What do I do with tulips after they bloom?
Let the foliage die back. 6 weeks after blooming, dig up the bulbs. If any show signs of damage or disease, discard them. Let them dry in a dark, cool area.
Should I cut tulips after they bloom?
If you want seeds, leave the flower head in place. Otherwise, cut the stem and remove the flower so all the residual energy goes into the bulb.
Are tulips easy to keep alive?
With the right soil, adequate sunlight, and careful watering, tulips are easy to grow and care for in your home.
How long do tulips last?
If you cut the tulips for a vase, they’ll stay perky for about 5 days. If left in the pot, you’ll get to enjoy their blooms for about 2 weeks.
Do tulips grow back after petals fall off?
It is possible with the proper care. It’s a natural part of the tulip’s lifecycle to lose its petals. Once you notice the blossom fading, cut the stem down from the flower by about 2”. Afterward, put it in cold water in a cool, dry location. If you’re lucky, the tulip will reflower in 4 weeks.
