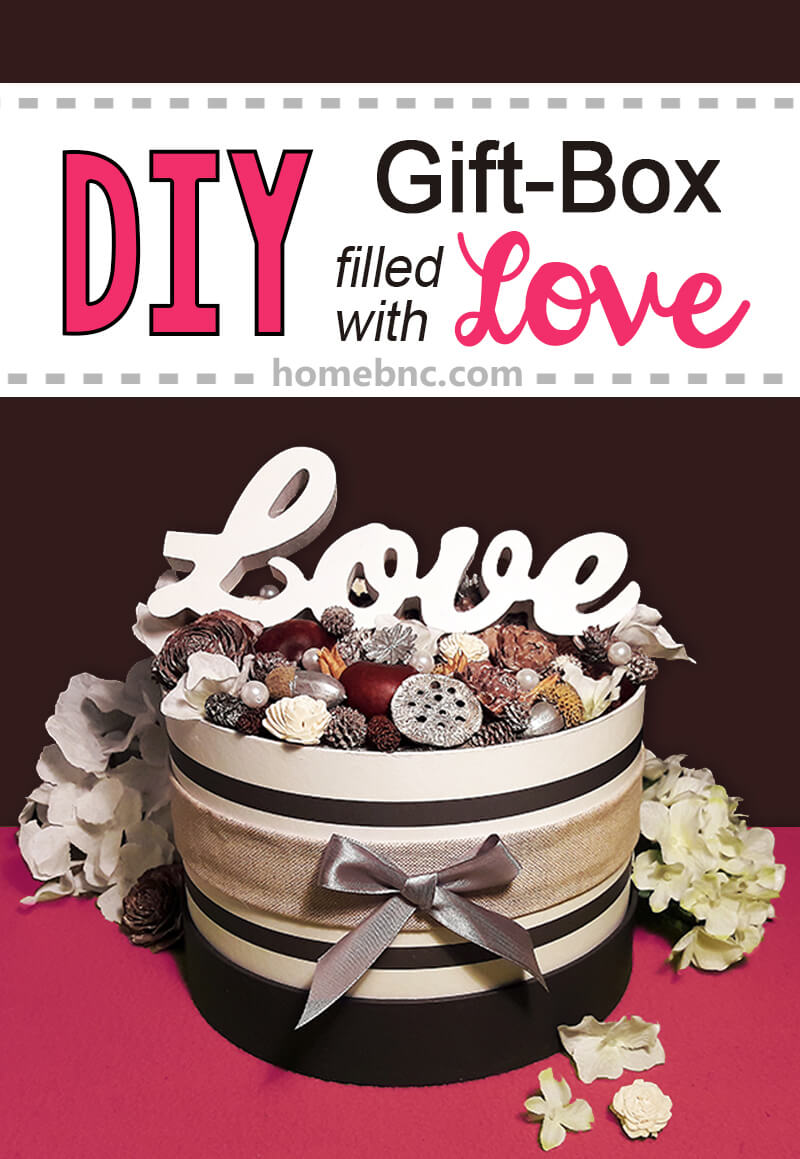
Giving presents is always joyful, especially if you can find out what makes your loved one truly happy. As Valentine’s day is approaching and the countdown has started, crowds of people are invading shopping malls. We have been thinking about creating something unique instead. Be it a birthday, mother’s day or a thank-you gift, this box may prove to be the ideal surprise.
Create the Perfect Gift Box for your Significant Other with this Tutorial

1. What You’ll Need
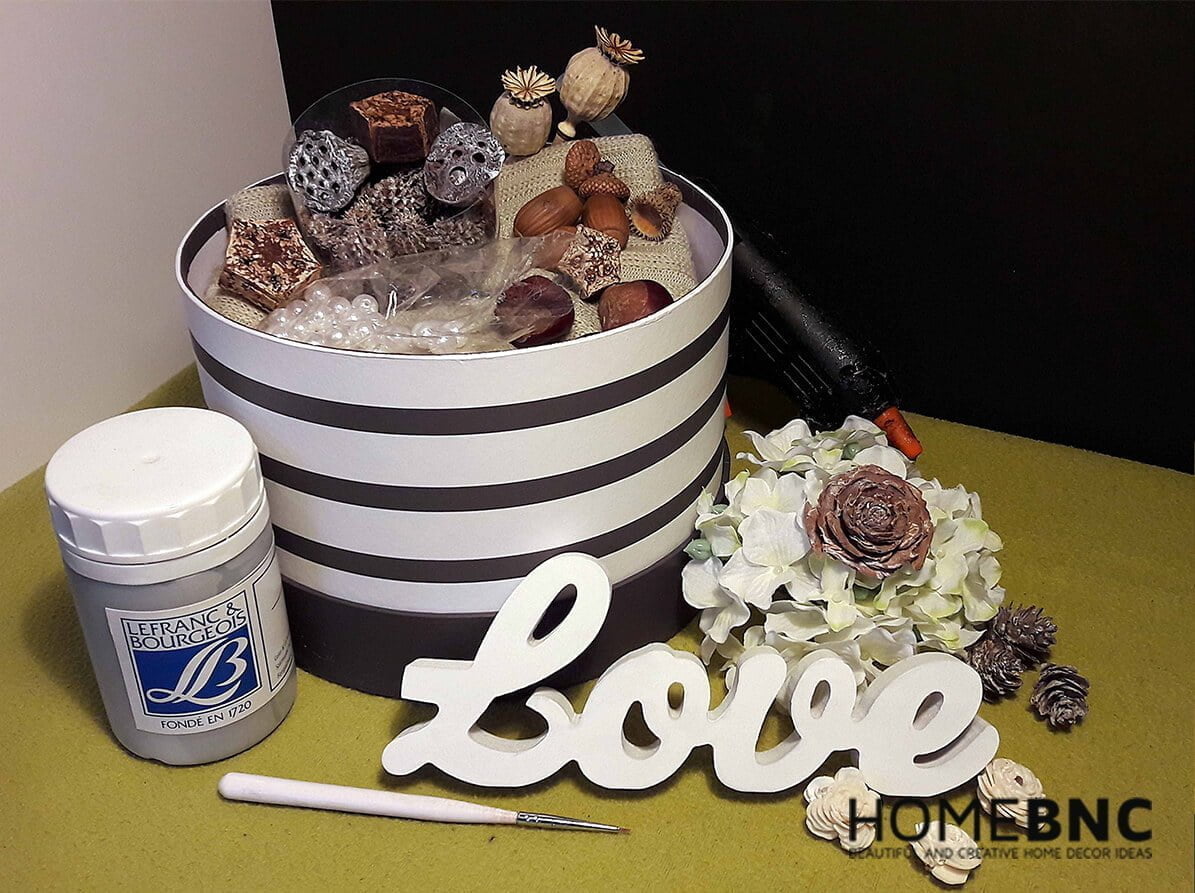
To create the box you will need the following: a round box, a wooden ‘love’ plate, a length of grey satin strip, some canvas strip, some knitted material, some Styrofoam, a silk hortensia head, cedar roses, shola bellies, casuarinas, birch pines, mini pinecones, acorns, poppy flowers, chestnuts, white beads, a glue gun, some pins, a pair of scissors, a box cutter, some silver paint and a paintbrush.
2. Start with Drawing
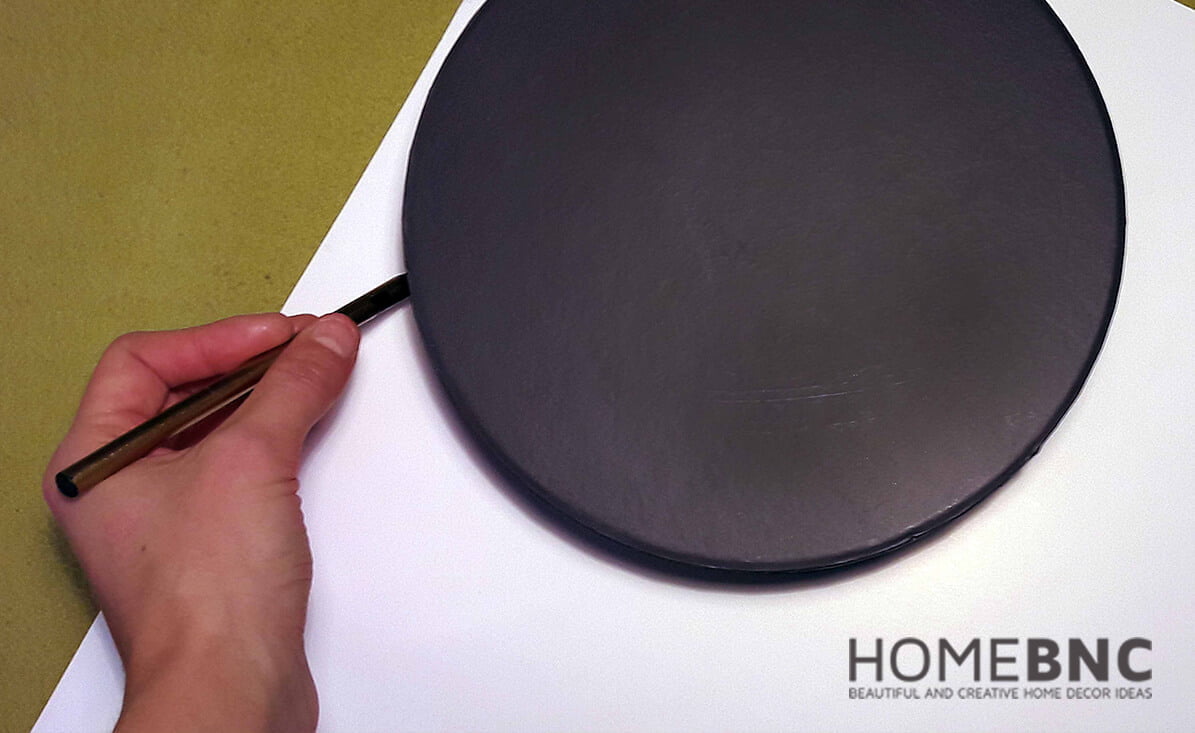
Draw the silhouette of the box on the Styrofoam.
3. Cut out the Circle
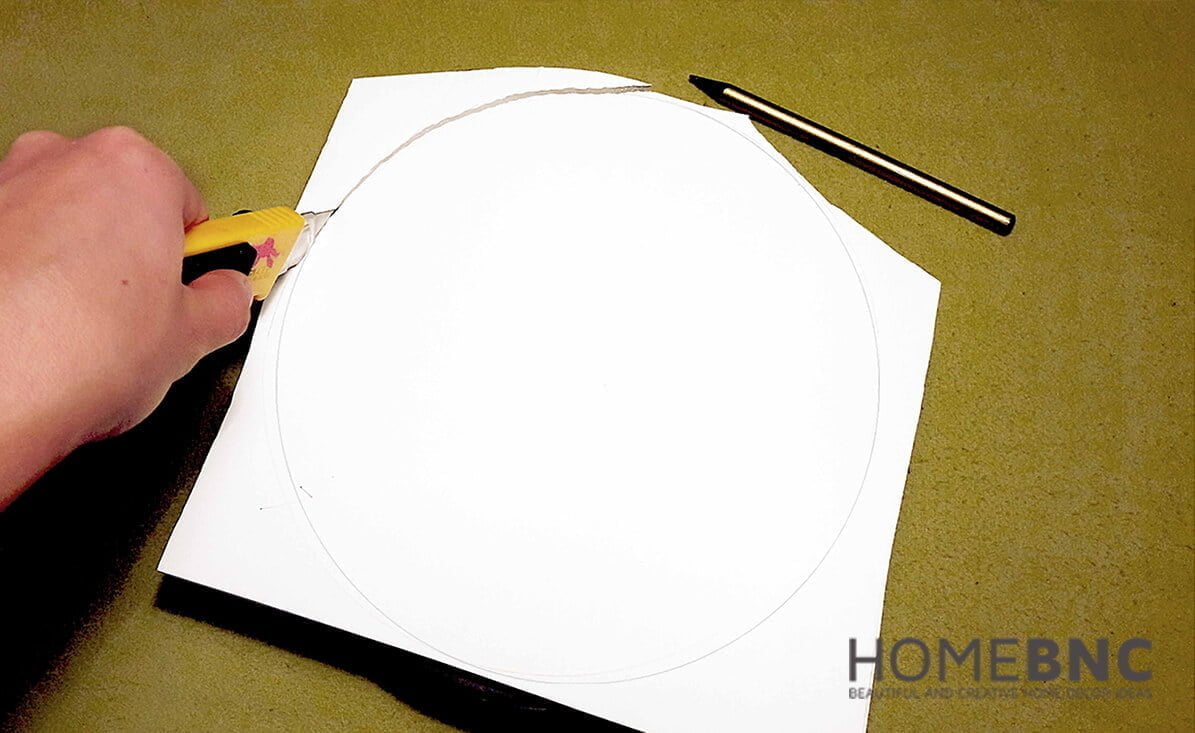
Use the box cutter to cut out the box-sized circle. This will serve as the base that you will put the cones, the nuts, the flowers and the wooden ‘love’ plate on.
4. Use Glue
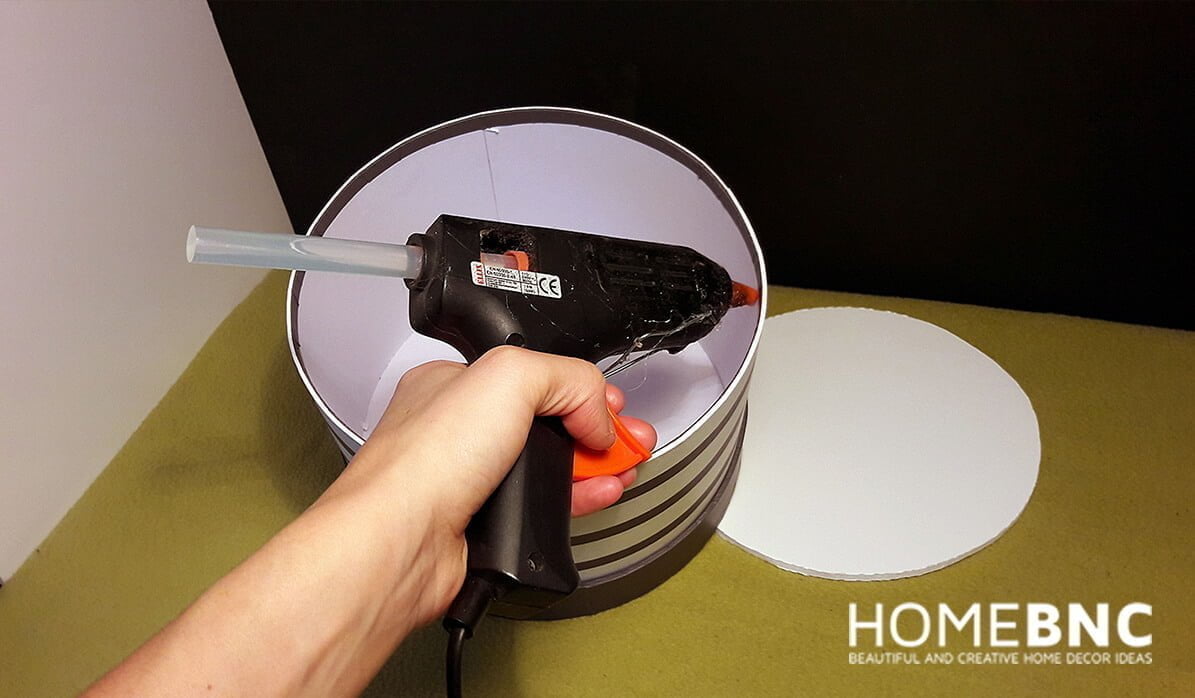
Apply some glue all around the inside of the box about one cm from its rim and before the glue dries put the circle-shaped Styrofoam on it.
5. Put the Material on the Box
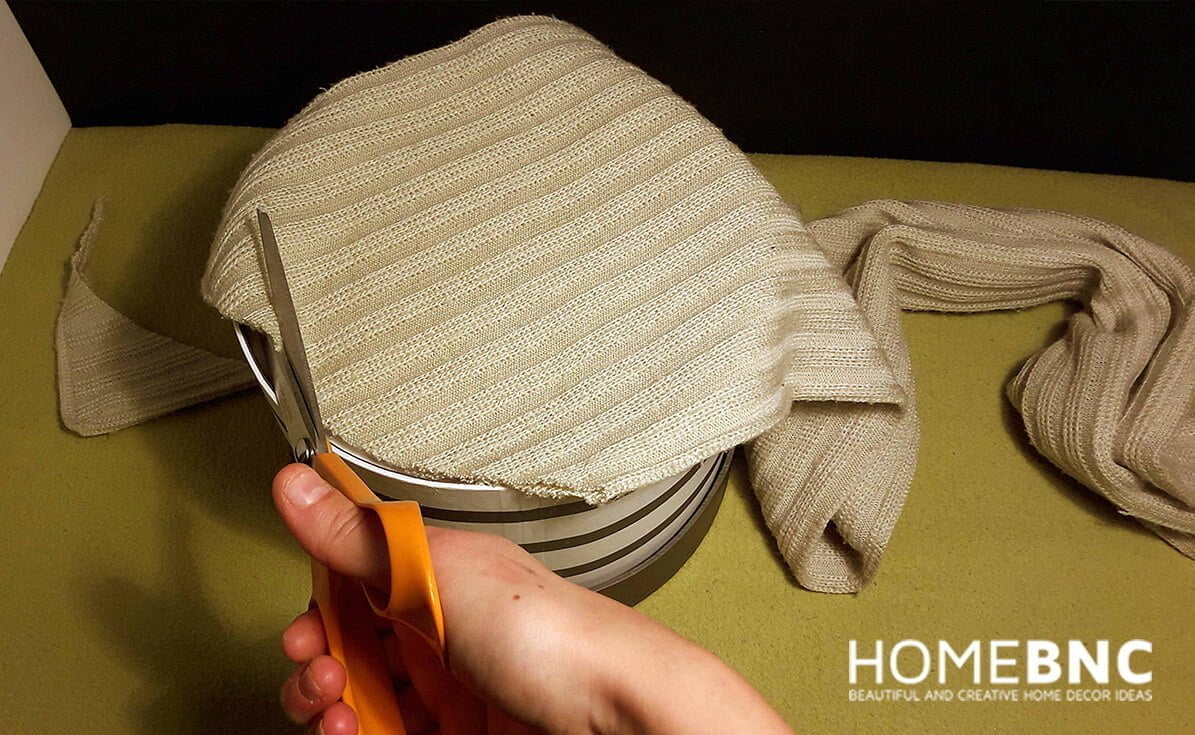
Put the knitted material on the box, cut out a box-sized circle and glue it on the Styrofoam base. This doesn’t only improve the look of the box but it’s also easier to glue the nuts, the cones and flowers on it.
6. Glue the ‘Love’ Plate on the Base
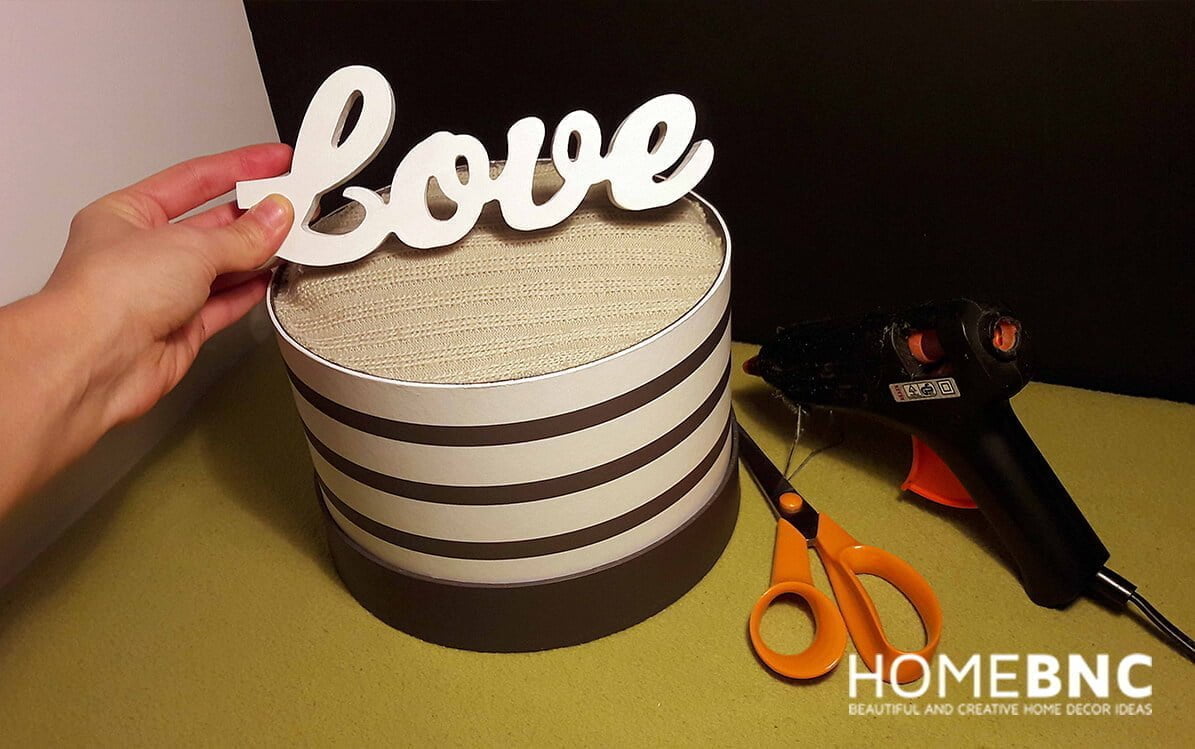
First glue the wooden ‘love’ plate right on the middle of the base.
7. Attach the other Materials to the Box
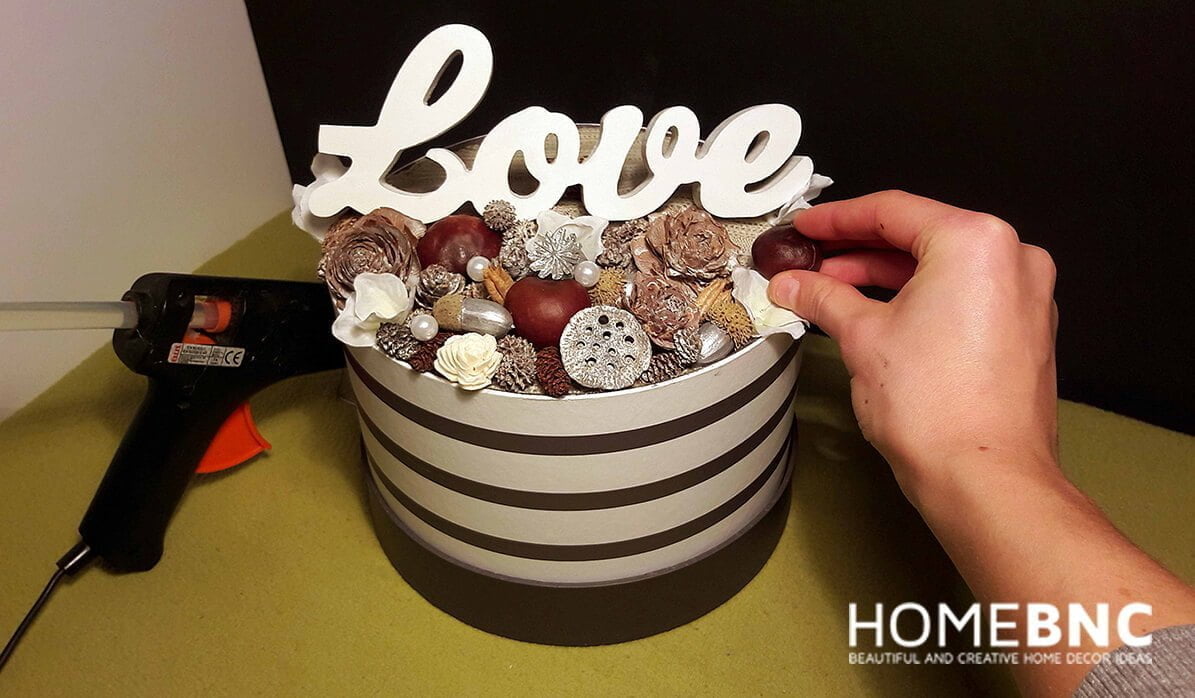
When it’s done, you can start attaching the nuts, the cones and the flowers. The box will look more elegant if you paint the acorns silver.
8. Put the Flowers on the Base
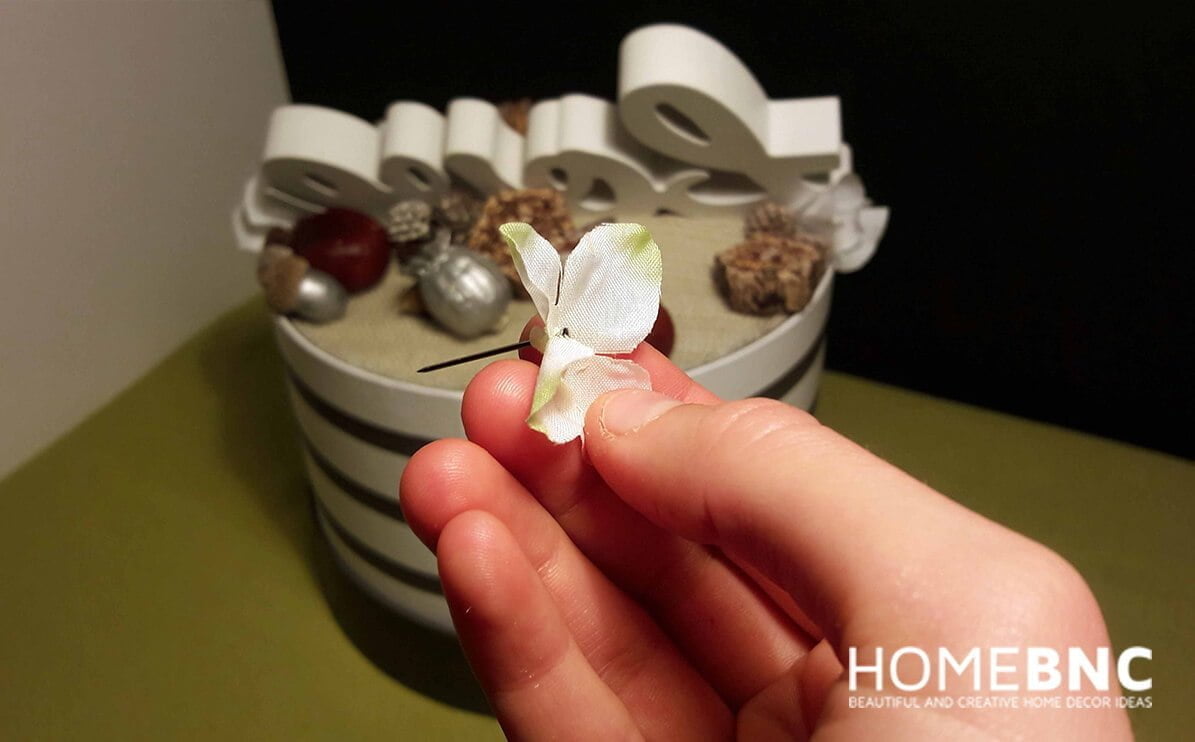
Spread some silk hortensia flowers on the base and pin them among the nuts and the cones.
9. Tie the Canvas Strip
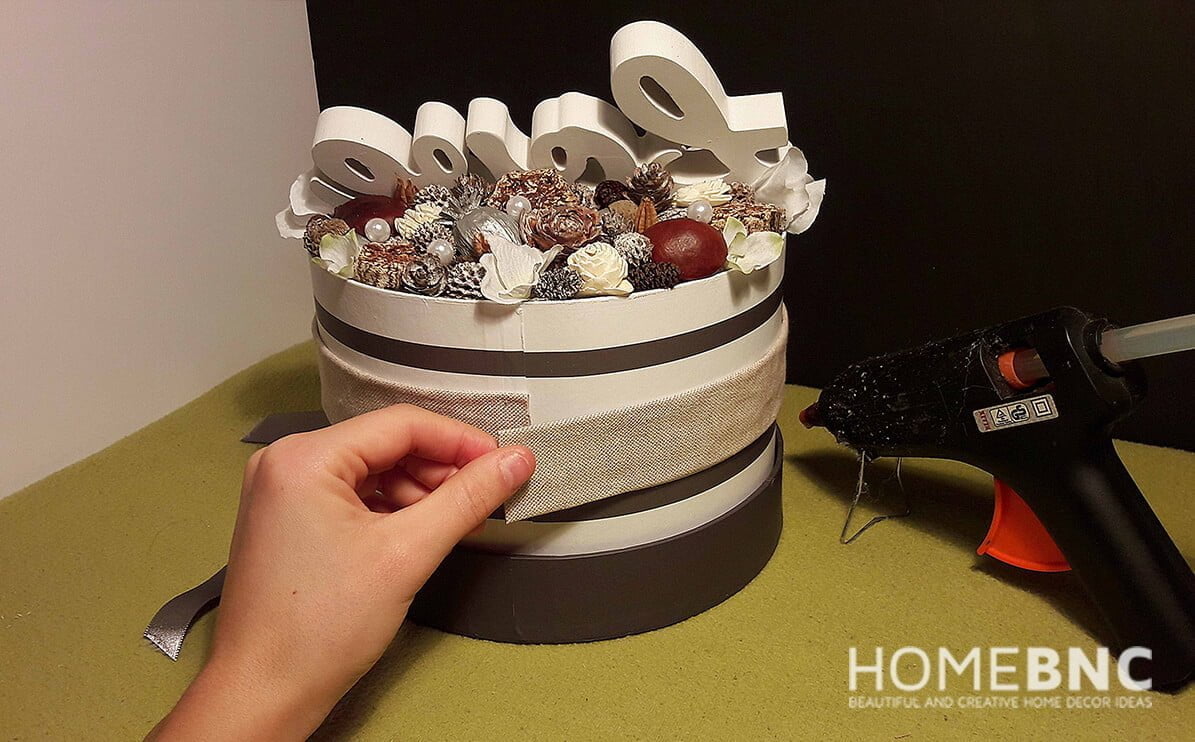
When everything is in its right place, tie the canvas strip around the box.
10. Finish with a Ribbon
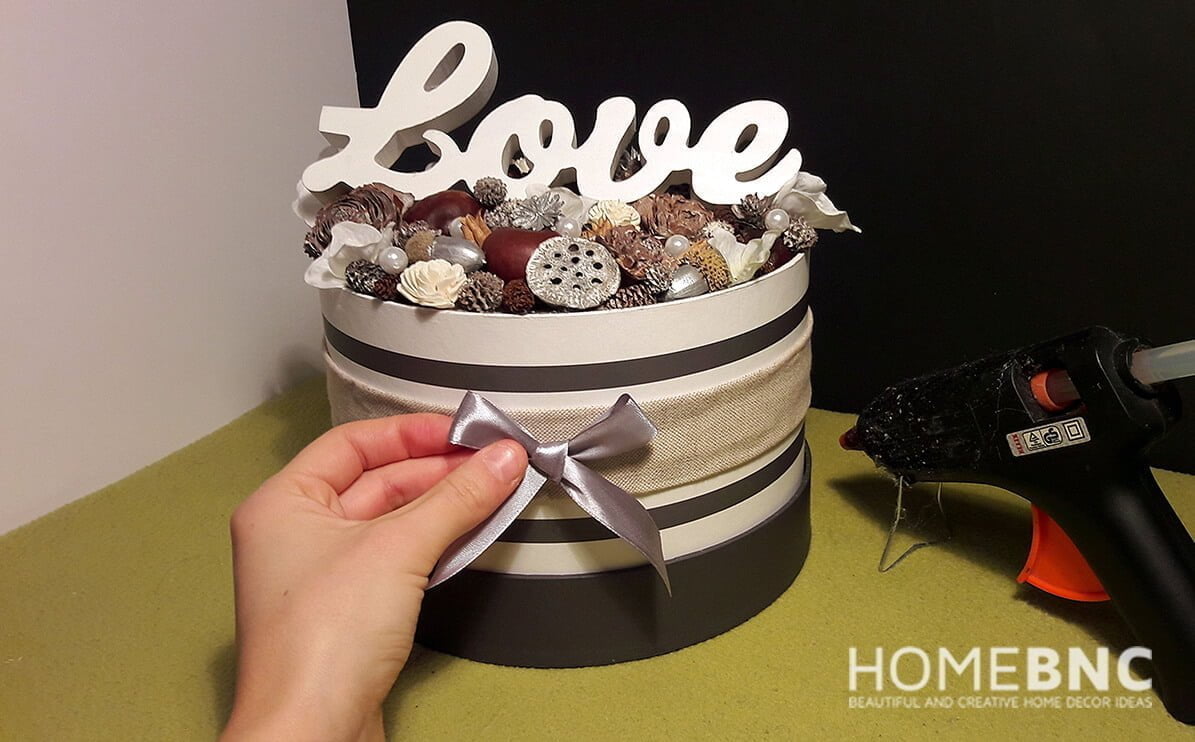
As a finishing touch tie a ribbon of the silver satin strip.
Your Love-Filled DIY Gift Box is Finally Done!
